We're Here to Help
Getting Started
Intro
First, you must download Sharepod for PC. Your download will open in a new tab.
If you're looking for the Mac tutorial, Click Here.
What You Will Need
- Your iPhone, iPad, or iPod
- A Mac or PC with iTunes installed
- A USB cable to connect your device to your computer
Auto-Transferring Music
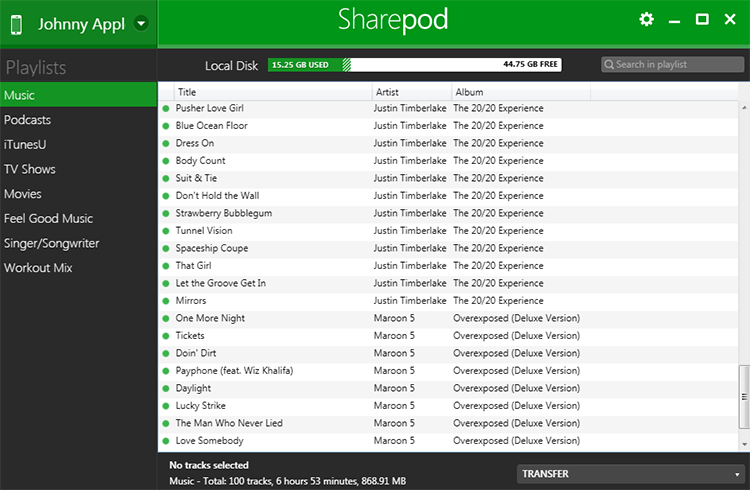
Open Sharepod and connect your iPhone, iPad, or iPod. It will begin to scan your current music library checking for matching tracks. If you have music on your device that's already in your iTunes library, Sharepod makes note of it and won't copy over duplicates.
Click the "Transfer" dropdown, and it will prompt you with some options.
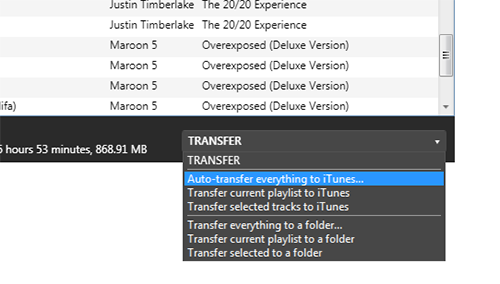
Select "Auto Transfer All Tracks to iTunes"
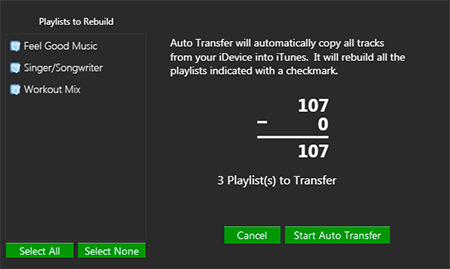
Here you'll see the playlists on your device, as well as what's in your iTunes library. Sharepod only transfers music you don't already have in iTunes.
Once you've selected which playlists you want, you can click "Start Auto Transfer". Sharepod will then quickly copy everything over to iTunes.
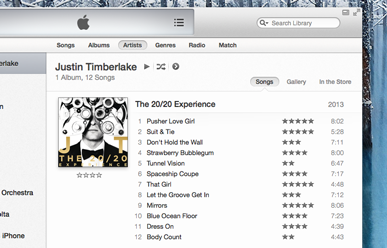
You're done!
Transferring Selected Tracks to iTunes
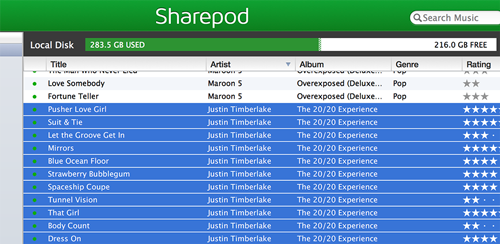
To transfer a batch of selected tracks, or just single songs, select them in the main window. To select multiple tracks at once, click on a track, hold shift, and select another track. This can be useful for transferring single albums into iTunes.
After you've selected the songs you want, click the "Transfer" dropdown menu.
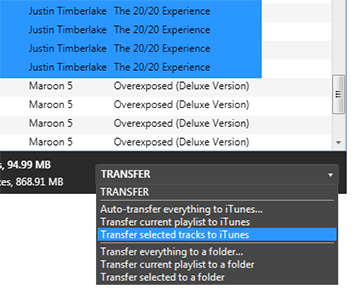
Select "Transfer Selected Tracks to iTunes", and click "Go". The transfer will begin and your selected tracks will be transferred into iTunes.
Have any further questions? Please have a look at our FAQ.
If you'd like to speak with our support team, you can fill out our support form here.